How to connect Mikrotik to the WISP network platform
Procedures for connecting Mikrotik to a WISP network platform
Procedures to connect Mikrotik to the Wisp Networks platform with Wireguard VPN without a public IP address.

Network creation
Let's access RedesWisp Then click on test system now.

Search network name
In this window we will write the name we want for our network and then click to see the network's availability.
Then we will click Continue.
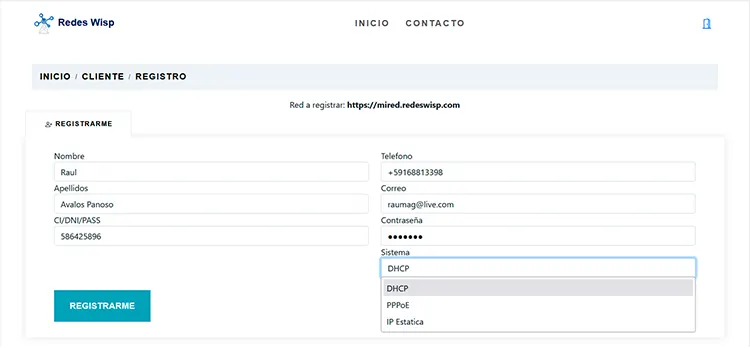
Data logging
In this form we will enter personal data with a valid email address and choose the type we will use.
Then we will click on Register
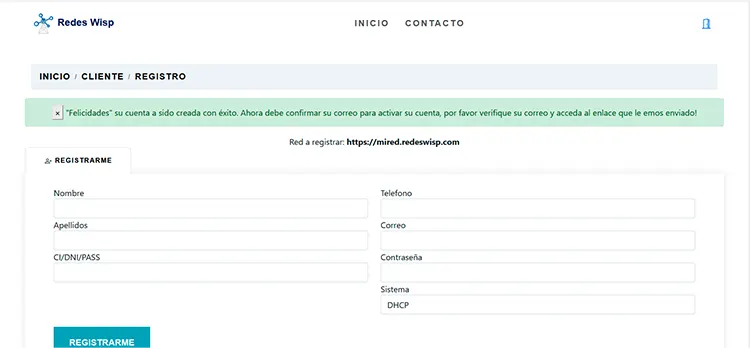
Email confirmation
The system has sent an email to the address you entered. Please check your inbox and spam folder.
Open the email and click the 'Activate Account' link at the bottom.
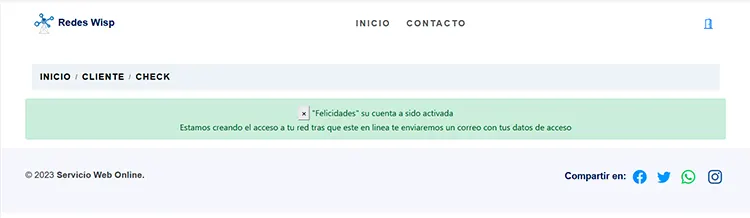
Account activation
Congratulations, your account has been successfully created and activated.
Our system has now begun creating all the necessary files for its administration. Once everything is ready, the system will send you an email with your login details and the portal link.
Mikrotik configuration
Now we will access our Mikrotik to connect using Winbox. We will enter the following commands one by one through the terminal.#1 /interface wireguard add listen-port=13231 mtu=1420 name=wireguard1 #2 /interface wireguard peers add allowed-address=172.16.83.1/24 endpoint-address=130.185.118.102 endpoint-port=27277 interface=wireguard1 public-key="U2dy/eZNTZa90dVgmRnO2rHcjqa+/NjCn1ha5pQtME8="
VPN connection
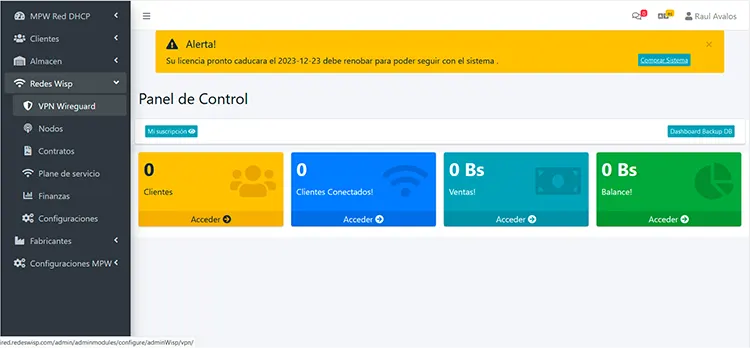
Now we will access our system and enter the (Wisp VPN Wireguard Networks) section.
There we'll see a button that says New VPN. We'll click it and a window will open where we'll enter the Mikrotik public key.
To do this, we access the Mikrotik using Winbox and go to the WireGuard section. Once there, in the WireGuard tab, in its list, we double-click on the created VPN and copy the public key.
Once the key is copied, we log into the system, enter the key in the form, and click "Connect."
It will return an OK, then we copy the IP address that was assigned to us to put it into the Mikrotik.
Now we log into Mikrotik and enter the following command via the terminal.
#1 /ip address
add address=assignedip interface=wireguard1 network=172.16.83.1
#2 /tool/netwatch/add host=172.16.83.1 down-script={:log error "ping test failed"} up-script={:log info "ping test working"}
Now we will ping 172.16.83.1 and it returns a stable connection
"Congratulations," you now have the Mikrotik connected to the platform via VPN. Now you just need to connect to the system.
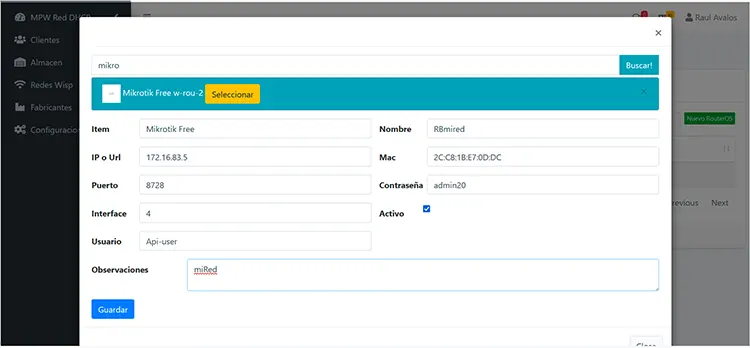
Connect Mikrotik
In the system panel, we will access the section (Wisp Networks Nodes). Once inside the panel, we click on New RouterOS. A window will open where we first type "mikro" and then click on search. When the result is returned, we click on Select.
We extract all the other data from the Mikrotik and enter it into the form, then we click save.